The Sawdust Factory Presents
Page 2
Here's the really cool part of boat building: the progression from rough glue-up to finely crafted form.
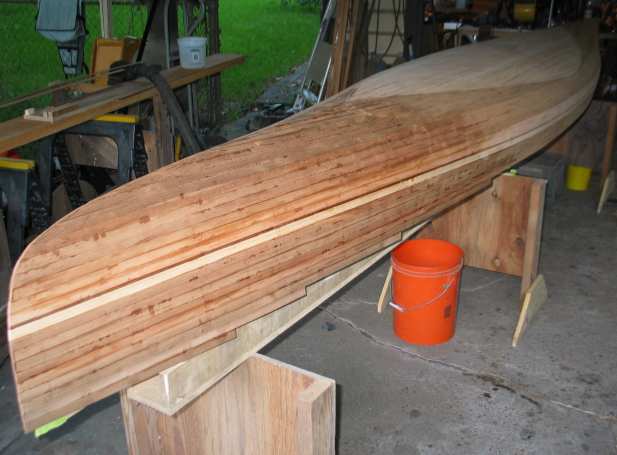
| Stripping complete, the fairing and sanding phase begins.
It kind of feels like you're almost finished when that last little bit of wood gets glued in... But it ain't. It's only something like a third of the way into the project. But it's still a milestone, and I think you ought to be given a cigar or something. |
 |
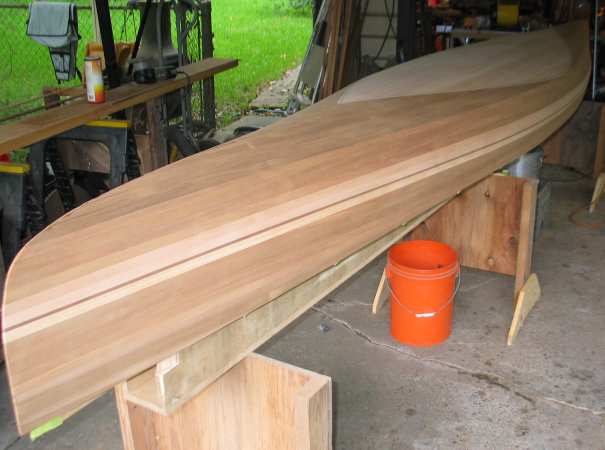
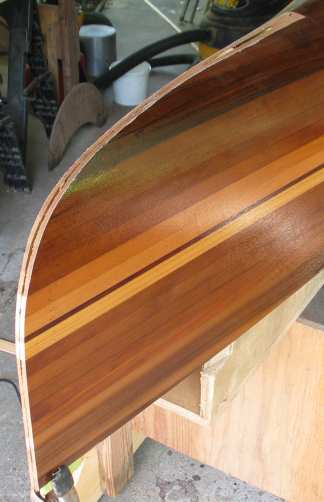
| All sanded, looking good. Sheer lines get trimmed too.
I rough sand with 60- or 80-grit, then wet the hull till it's dripping wet. After it dries, I finish sand with 120. Wetting the hull raises the grain for final sanding, and swells closed any gaps and/or staple holes. Plus, it gives you a fun preview of what the finished boat will look like. |
 |
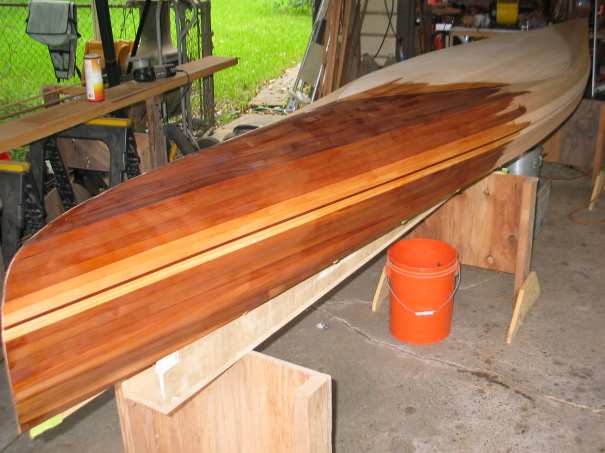
| This is the seal coat going on. Some builders recommend a
seal coat, and others do not. I didn't use 'em myself for my first six
or seven projects, but now I'm a believer.
I slop a small puddle of epoxy on with a brush, then quickly run it out as far as I can with a squeegee. Rinse and repeat. I don't want too much epoxy on the boat, just enough to neutralize the wood's pores. There's a bit of concern that splotching may result from my rather laizes-faire approach. Oh well, so what? The camo look is in, and this will just be a natural, more earthy version of it. But it turns out to be a non-issue, no splotching is evident after glassing. |
 |
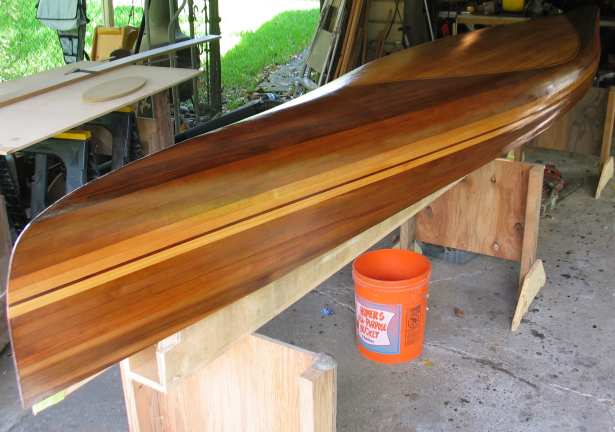
| 'Glass is on, a fill coat has been applied.
Most builders would have added inner and/or outer stems as part of the basic construction process, but not me. I go for ultra lightweight results, and do things a little differently. Like skip inner stems altogether. Not everybody can successfully use as light a lay up as I can; but then, most people don't sink up to their you-know-whats in mud every time they attempt so audacious a feat as wading. That's life on the Texas Gulf Coast, however, and there must be some sort of reward for enduring it. Very light lay ups would be that reward, as I see it (through rose-colored glasses). In this project, I am going with 4-ounce cloth inside and out, with 6-ounce doublers on the exterior football, and anywhere I think my feet may fall inside. I'm probably an idiot to say it at this point, but I'm shootin' for a finished weight of 32 pounds. |
 |
|
|
Okay, here's how we make stems at the Sawdust Factory...
They're purely a decorative treatment around here (see last comments), but direly necessary in a cosmetic kind of way just the same. It gives me the willies just thinking about omitting them, weight or no weight. So I'm making them out of cedar. That, and the fact that there isn't a splinter of ash to be had locally, and I'm not driving to the other side of Houston if I can possibly help it. Something about beetles ate it all up, I dunno. Whatever, the first thing to do is grind out a bed for them. I'm sure that was probably the most incorrect sentence in the history of woodworking how-to articles, but now you know why I'm a shade tree boat builder and not a big time professional writer. The Shinto rasp really kicked some sawdust butt here, man. I love that little dude. RASP! RASP! RASP!, BWA, HA HA! Sorry 'bout that, but I've never seen anything quite like it. It not only hogs off wood big time, but leaves a really smoothly executed result when you do it right. And it speaks to you very plainly and clearly, too, as a truly great tool ought to. Note the two sides separating a little bit. This gives some folks a heart attack, but it's just another one of those great big huge honking things to not worry about. Mash 'em back together if you want, or leave 'em where they fall and proceed as if nothing in the world is amiss, which is what I did. |
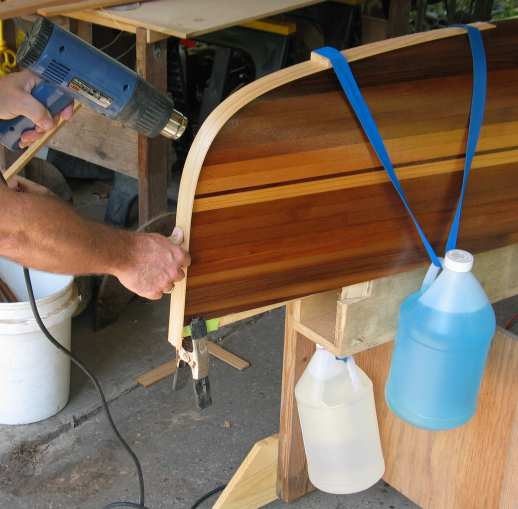
| I found that 3/32" thick strips of cedar were as much
as I could bend without steaming, and even then, only with the aid of a
heat gun.
The strap-and-jug thing puts in another appearance, as you see. Sure worked well for this job. In fact, everything I did today worked right the first time. That always kind of scares me a little. |
 |
|
|
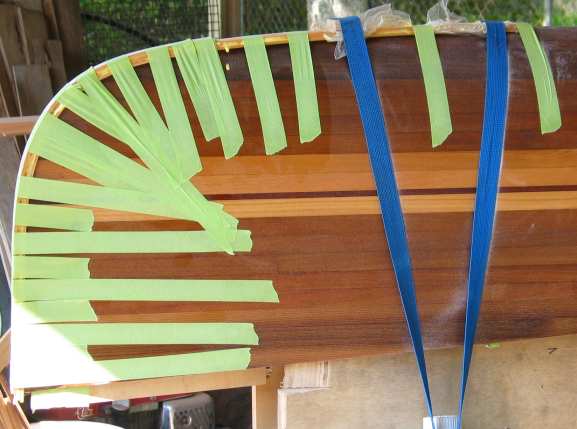
Then I glued 'em up and taped 'em down. Nuthin' to it.
I used Titebond II wood glue for this job, whereas most builders would've used epoxy. There's absolutely no reason why epoxy is necessary in a situation like this; it's not one iota stronger, nor any more waterproof, or whatever else I can't think of. And I ain't using epoxy because it's heavy, expensive, and a pain in the ass to clean up. Scuze my French. |
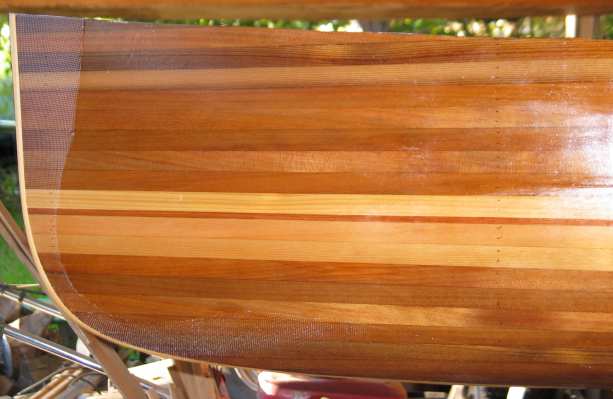
| 'Glass 'em in, then step back and admire the results. Now,
don't that just beat the thunder out of plain naked ends?
The 6-oz cloth has been cut on the bias, note the clean edges and how well it laid down. Stronger this way, too, since all the fibers cross over the stems. I'll add a couple more layers to increase the abusability factor of the arrangement. Whoops, my spellchecker didn't like that word, but I do, so I'm keeping it. 'Abusability.' Remember, you heard it here first. |
 |
|
|
Hah! You noticed the thing was off the strongback in the
last picture... I knew you would, so I took this picture.
It sucks, and I have lots to say about working on the inside of the hull, so I'll have a better photo and a bunch more commentary coming up very soon. |

Return to Page One
Ahead to Page Three
Forward to Page 4